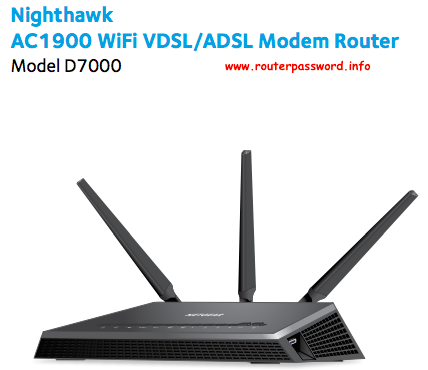
How to Setup/Configure Netgear Nighthawk ac1900 Modem Router
Netgear had come up with the smart router that makes the configuration of the router makes very simple. Netgear Nighthawk AC1900 is the latest smart router from netgear.
This router is specially designed for gaming, streaming and managing the settings from the mobile device itself.
It is equipped with the 1GHz dual-core processor, it gives the best experience with the greater speed, and you can enjoy lower lag time and less buffering. It has the most advanced features like controlling the whole device using netgear genie app, OpenVPN, Ready Cloud, etc.
The setup and configuration of the Netgear Nighthawk smart WiFi Router is not an as task, you have to be careful while setting and configuring the router.
In this we provide you the information about how to setup Netgear Nighthawk Smart WiFi router.

Steps to follow to setup Netgear Nighthawk Smart WiFi Router
The below are the steps to follow to setup the Netgear Nighthawk Smart WiFi router.
Before installing the router make sure that your internet service is active or not.
While unboxing the router it contains Nighthawk device, antennas, power adapter and yellow Ethernet cable.
All you have to connect them properly, for that follow the below step.
- First of all align the antennas with the antenna posts on the router and make sure while placing the centre antenna be vertical and that you aim the others outwards at 45 degree angle.
- And then unplug your modem power and make sure that your modem is turned off and is cabled only to the wall jack for your internet service.
- Next turn-on your modem and connect it with the yellow Ethernet cable that came with the router in the box.
- Then connect the power adapter to the Nighthawk smart router and plug the power adapter into an outlet
- And then connect your router with the computer by using Ethernet cable or by using the LAN connection.
- For a wired connection, use an Ethernet cable, to connect your computer to a black Ethernet port on your router.
- Or to connect with WiFi use WiFi settings.
- Then open browser in your desktop, and type the default IP address of netgear router that is “192.168.1.1 and press enter button.
- And then it will ask you to enter the user name and password, in that enter the default credentials such as “admin” as user name and “password” is the password.
- Next the Genie home page will appear in that make configuration as per your requirements.
This is how you can setup and configure your Netgear Nighthawk smart WiFi router.
Download Nighthawk AC1900 WiFi VDSL/ADSL Modem Router Model D7000 Manual & Instructions PDF Here Download Link